Studio Logos vs Bespoke Motifs. What is the difference?
We often get asked about the difference between studio logos and bespoke motifs. Here is a simple explanation to help:
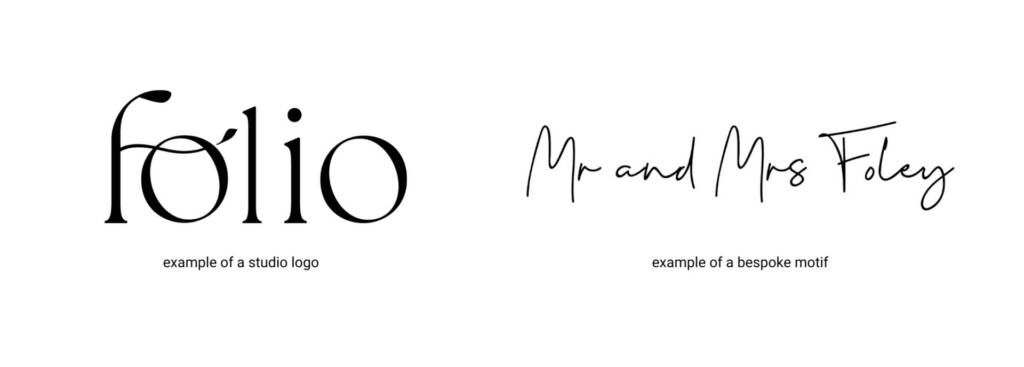
- Studio Logo: This is your company logo, which you can use on many albums or products to help promote your brand.
- Bespoke Motif: This is a custom design created specifically for a particular order. It could be your clients’ names in a unique font, a family crest, or any design that isn’t available through our standard options.

Specifications for Studio Logos and Bespoke Motifs
Both studio logos and bespoke motifs need to meet the following specifications to ensure they look perfect on your album:
- File Format: JPG
- Resolution: 600 ppi (pixels per inch)
- Colour Mode: RGB (i.e. not CMYK)
- Colour Profile: sRGB colour profile
- Size: The file should be at the exact size you want it to appear on the product (see size options below)
- Colours: Pure black and white only (no greyscale or colours)
Available Sizes for Bespoke Motifs
- Standard Size and Studio Logos: Maximum of 64 cm² (e.g., 8×8 cm, 6×10 cm)
- Large Size: Maximum of 176 cm² (e.g., 16×11 cm)
- Full Cover: Covers the entire album cover minus a safe zone. Limitations to the personalisation methods apply. Please refer to the templates below for specifics and sizes.
Note: For foiling and blind debossing, the maximum bespoke motif size is 16 cm wide by 11 cm high due to machine limitations.
Full cover Canva templates
We have ready-made Canva templates for various album sizes to help you design full cover motifs with ease. Please note that full cover personalisation is (at the time of writing) only available for cover printing and engraving personalisation methods. You can choose from the following templates:
Full Cover Printing Design Templates
These templates can be easily customised in Canva and are designed to help you create bespoke motifs that fit perfectly.
Common Issues and Solutions
1. Correct Resolution and Size
Make sure your logo or motif is set to 600 ppi and is saved at the exact size you want it printed. If you’re using Canva, you can set the document dimensions in the design settings. This helps ensure that your design prints crisply without any quality loss.
2. Correct Colour Profile
Your file must use the sRGB colour profile. In Canva, colours are automatically in sRGB, making it beginner-friendly. If you’re using other software, double-check that the colour profile matches to avoid unexpected shifts in colour.
3. Pure Black and White Artwork
Ensure your logo or motif uses only pure black and white without any shades of grey. In Canva, you can select the darkest black and purest white available in the colour palette to ensure compatibility.
Tips for Using Canva to Create Logos and Motifs
- Set the Dimensions Correctly: When creating a new design in Canva, set the dimensions in centimetres to match the desired motif size.
- Use High-Quality Elements: Avoid using low-resolution elements or images, as these can look pixelated when printed.
- Ensure Pure Black and White: When adding text or elements, use the colour picker to set pure black (
#000000) and pure white (#FFFFFF). This ensures that the motif will be correctly prepared for printing.
Need More Help?
We understand that preparing files can be challenging, especially if you’re new to design software. If you need any help or have questions about creating your studio logo or bespoke motif, don’t hesitate to reach out. We’re here to assist you in making sure your final product looks perfect!


